GROWScience
Lesson overviewGROW · Week 3

Friction: test the surfaces

One block. Three surfaces. Evidence.

Use repeated results to explain what happened in this setup.
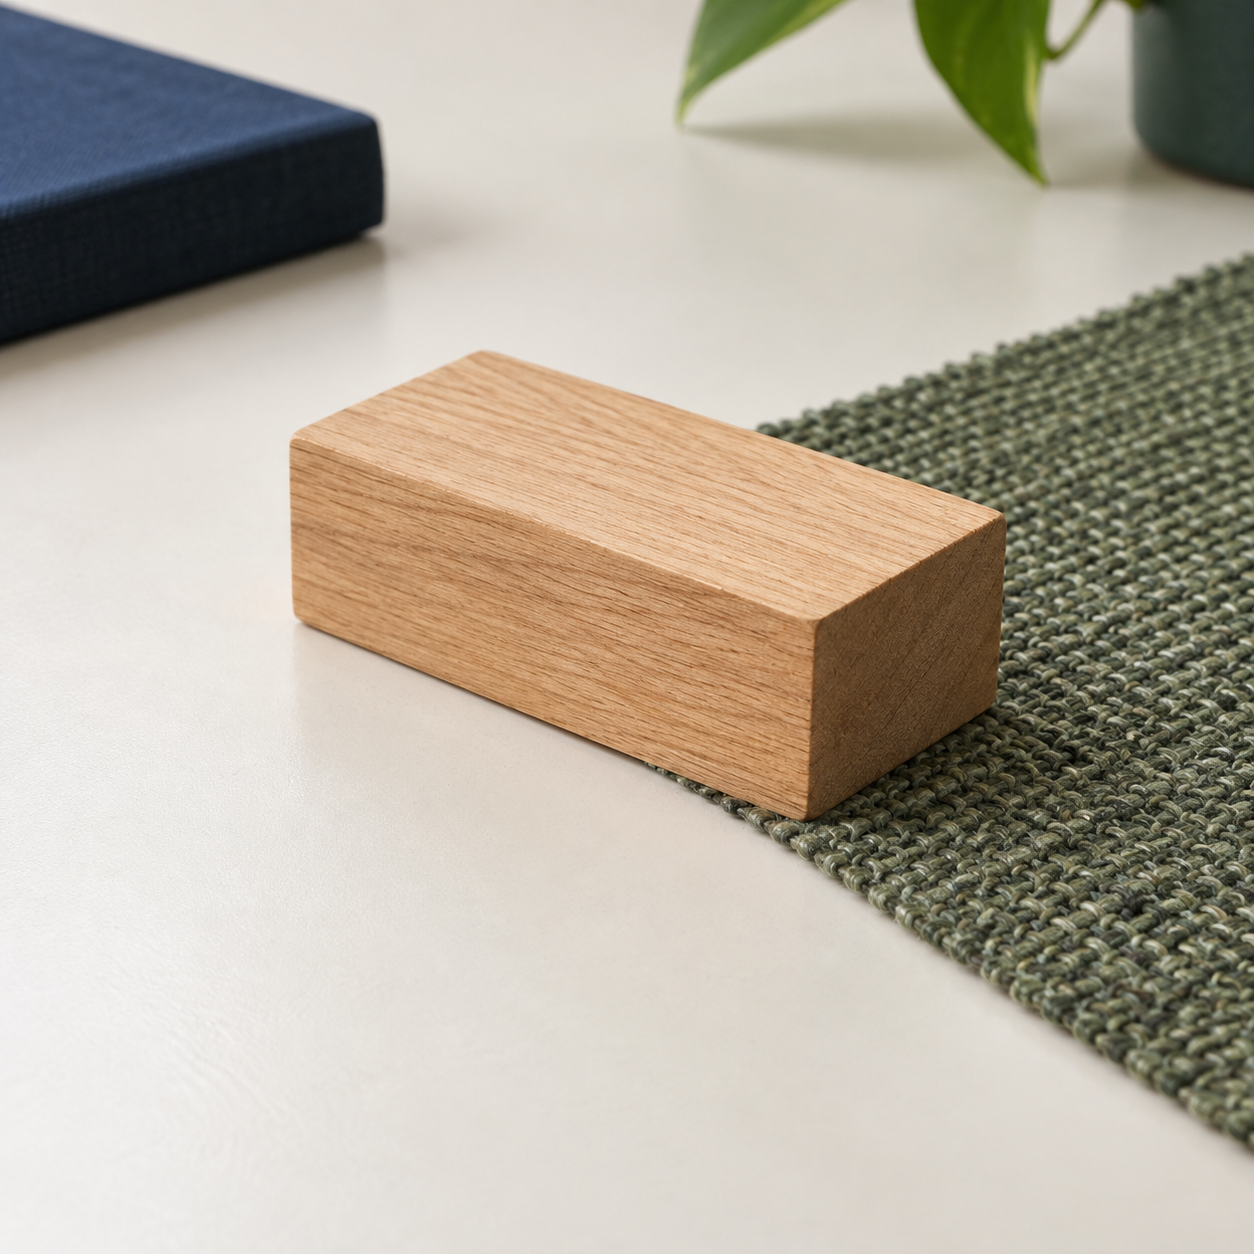
Contextual illustration of a wooden block beside a textured surface. It is not a recorded experimental result.Open image full size
Friction: test the surfacesSlide 1 of 15
StarterGROW · Week 3

Return to your prediction

Find Monday’s prediction. Do not erase it.

Which surface do you think will stop the block sooner?

Choose a role: tester, observer, director or recorder.

Friction: test the surfacesSlide 2 of 15
StarterGROW · Week 3

Set up a safe comparison

Adult checks the low ramp and padded stop.

Use the same block, release mark and ramp height.

Keep each surface level and the ramp join fixed.

Hands clear. Release gently; never add a push.

Friction: test the surfacesSlide 3 of 15
You Do · practiseGROW · Week 3

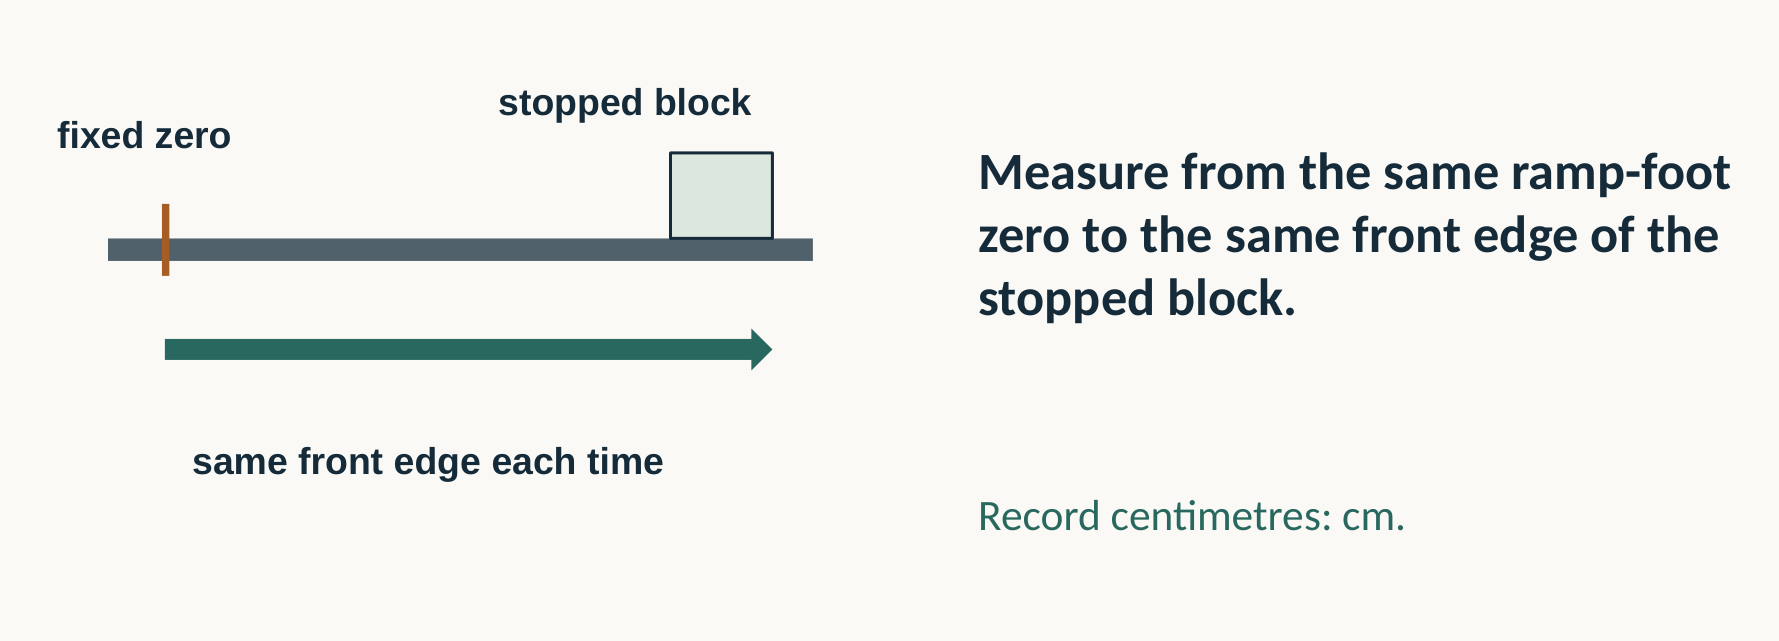
Where will you measure from?

Stopping distance runs from a fixed ramp-foot zero on the left to the front edge of the stopped block on the right; use the same endpoints each time.
Original teaching-pack diagram and labels.
Open image full size
Read the slide text
Stopping distance runs from a fixed ramp-foot zero on the left to the front edge of the stopped block on the right; use the same endpoints each time. fixed zero stopped block same front edge each time Measure from the same ramp-foot zero to the same front edge of the stopped block. Record centimetres: cm.
Friction: test the surfacesSlide 4 of 15
You Do · practiseGROW · Week 3

Surface 1: release, record, repeat

Name the surface in your results table.

Release from the mark without a push.

Measure the stopping distance in cm.

Reset everything and run Trial 2.

Keep both results, even if they differ.

Friction: test the surfacesSlide 5 of 15
You Do · practiseGROW · Week 3

Surface 2: change only the sample

Replace the level surface sample.

Keep the block, ramp, release and join the same.

Measure Trial 1 and Trial 2 from the same zero.

Write a note if the method changed.

Friction: test the surfacesSlide 6 of 15
You Do · practiseGROW · Week 3

Surface 3: finish the comparison

Check the controls before the first release.

Record two trials if time and access allow.

Which results are close? Which need checking?

Record unfinished trials honestly.

Friction: test the surfacesSlide 7 of 15
You Do · practiseGROW · Week 3

No equipment? Use model data

INVENTED TEACHING DATADISCUSS THE EVIDENCE
Card: 42 cm, 44 cm Fabric: 25 cm, 27 cm Rubber mat: 15 cm, 18 cmWhich stopped the block sooner? What had to stay the same? What can these values not prove?
Friction: test the surfacesSlide 8 of 15
You Do · practiseGROW · Week 3

Pause and check the method

Pause the equipment and compare your repeats.

Check one control: release, slope or measuring zero.

Mark an uncertain run. Keep the original value.

Friction: test the surfacesSlide 9 of 15
You Do · practiseGROW · Week 3

Repeat one doubtful run

Choose one specific method concern.

Correct that concern with the adult.

If time allows, repeat and label the new result.

Keep the first result and the reason for retrying.

Friction: test the surfacesSlide 10 of 15
You Do · practiseGROW · Week 3

Use numbers in your conclusion

In our setup, ___ stopped the block over a shorter distance: ___ cm and ___ cm.

This supports ___ because ___. A control or uncertainty to check is ___.

Friction: test the surfacesSlide 11 of 15
You Do · practiseGROW · Week 3

Leave a clear record

Name and date your record; keep the prediction.

Label any model data or unfinished trials.

Return samples, block and measuring tools safely.

Friction: test the surfacesSlide 12 of 15
Lundy Loop · pupil voiceGROW · Week 3

Your voice can change the lesson

What helped you test, observe or record?

What could make the next activity easier to access?

Point, sign, speak, write—or pass privately.

Adult: agree one change and explain any limit.

Friction: test the surfacesSlide 13 of 15
Exit checkGROW · Week 3

Explain one use of friction

Supported: name one place friction helps.

Standard: explain how a car’s brakes help it stop.

Stretch: explain a helpful and a harmful effect.

Friction: test the surfacesSlide 14 of 15
Exit checkGROW · Week 3

Check and improve one detail

Brake friction transfers movement energy to heat. It helps slow the wheel.

Rubbing in moving engine parts can cause unwanted heating and wear.

Friction: test the surfacesSlide 15 of 15

Use the controls or left and right arrow keys. Printing includes pupil content; model answers remain separate.